Fallout 4 is a game that inspires some deep reflection. Anytime I load up a save, I always find myself asking some of the most impactful questions about the post-apocalyptic universe that the franchise, as a whole, takes place within. Such as, what would happen if the Enclave was formed in a sprawling underground Apple store? What if my son ended up being a total dick? If I steal Virgil a cow will he roam the commonwealth selling weapons and throwing whimsical meat cook-offs?
Okay, fine, I lied. While I love Fallout 4, in many ways, it leaves something to be desired. But while this may extend to the Institute, they did introduce some interesting takes on energy weapons into the franchise. This goal of this project is to build one of those weapons, the Institute Laser Pistol, as recreated in printable form by Tie Kai, who did an amazing job with the files, and finally gave me a reason to use my printer’s 400mm z build area.
Prop Gun
3D-Printed, PLA+
Fallout Universe
For many of this project’s files, I ended up reprinting at higher quality:
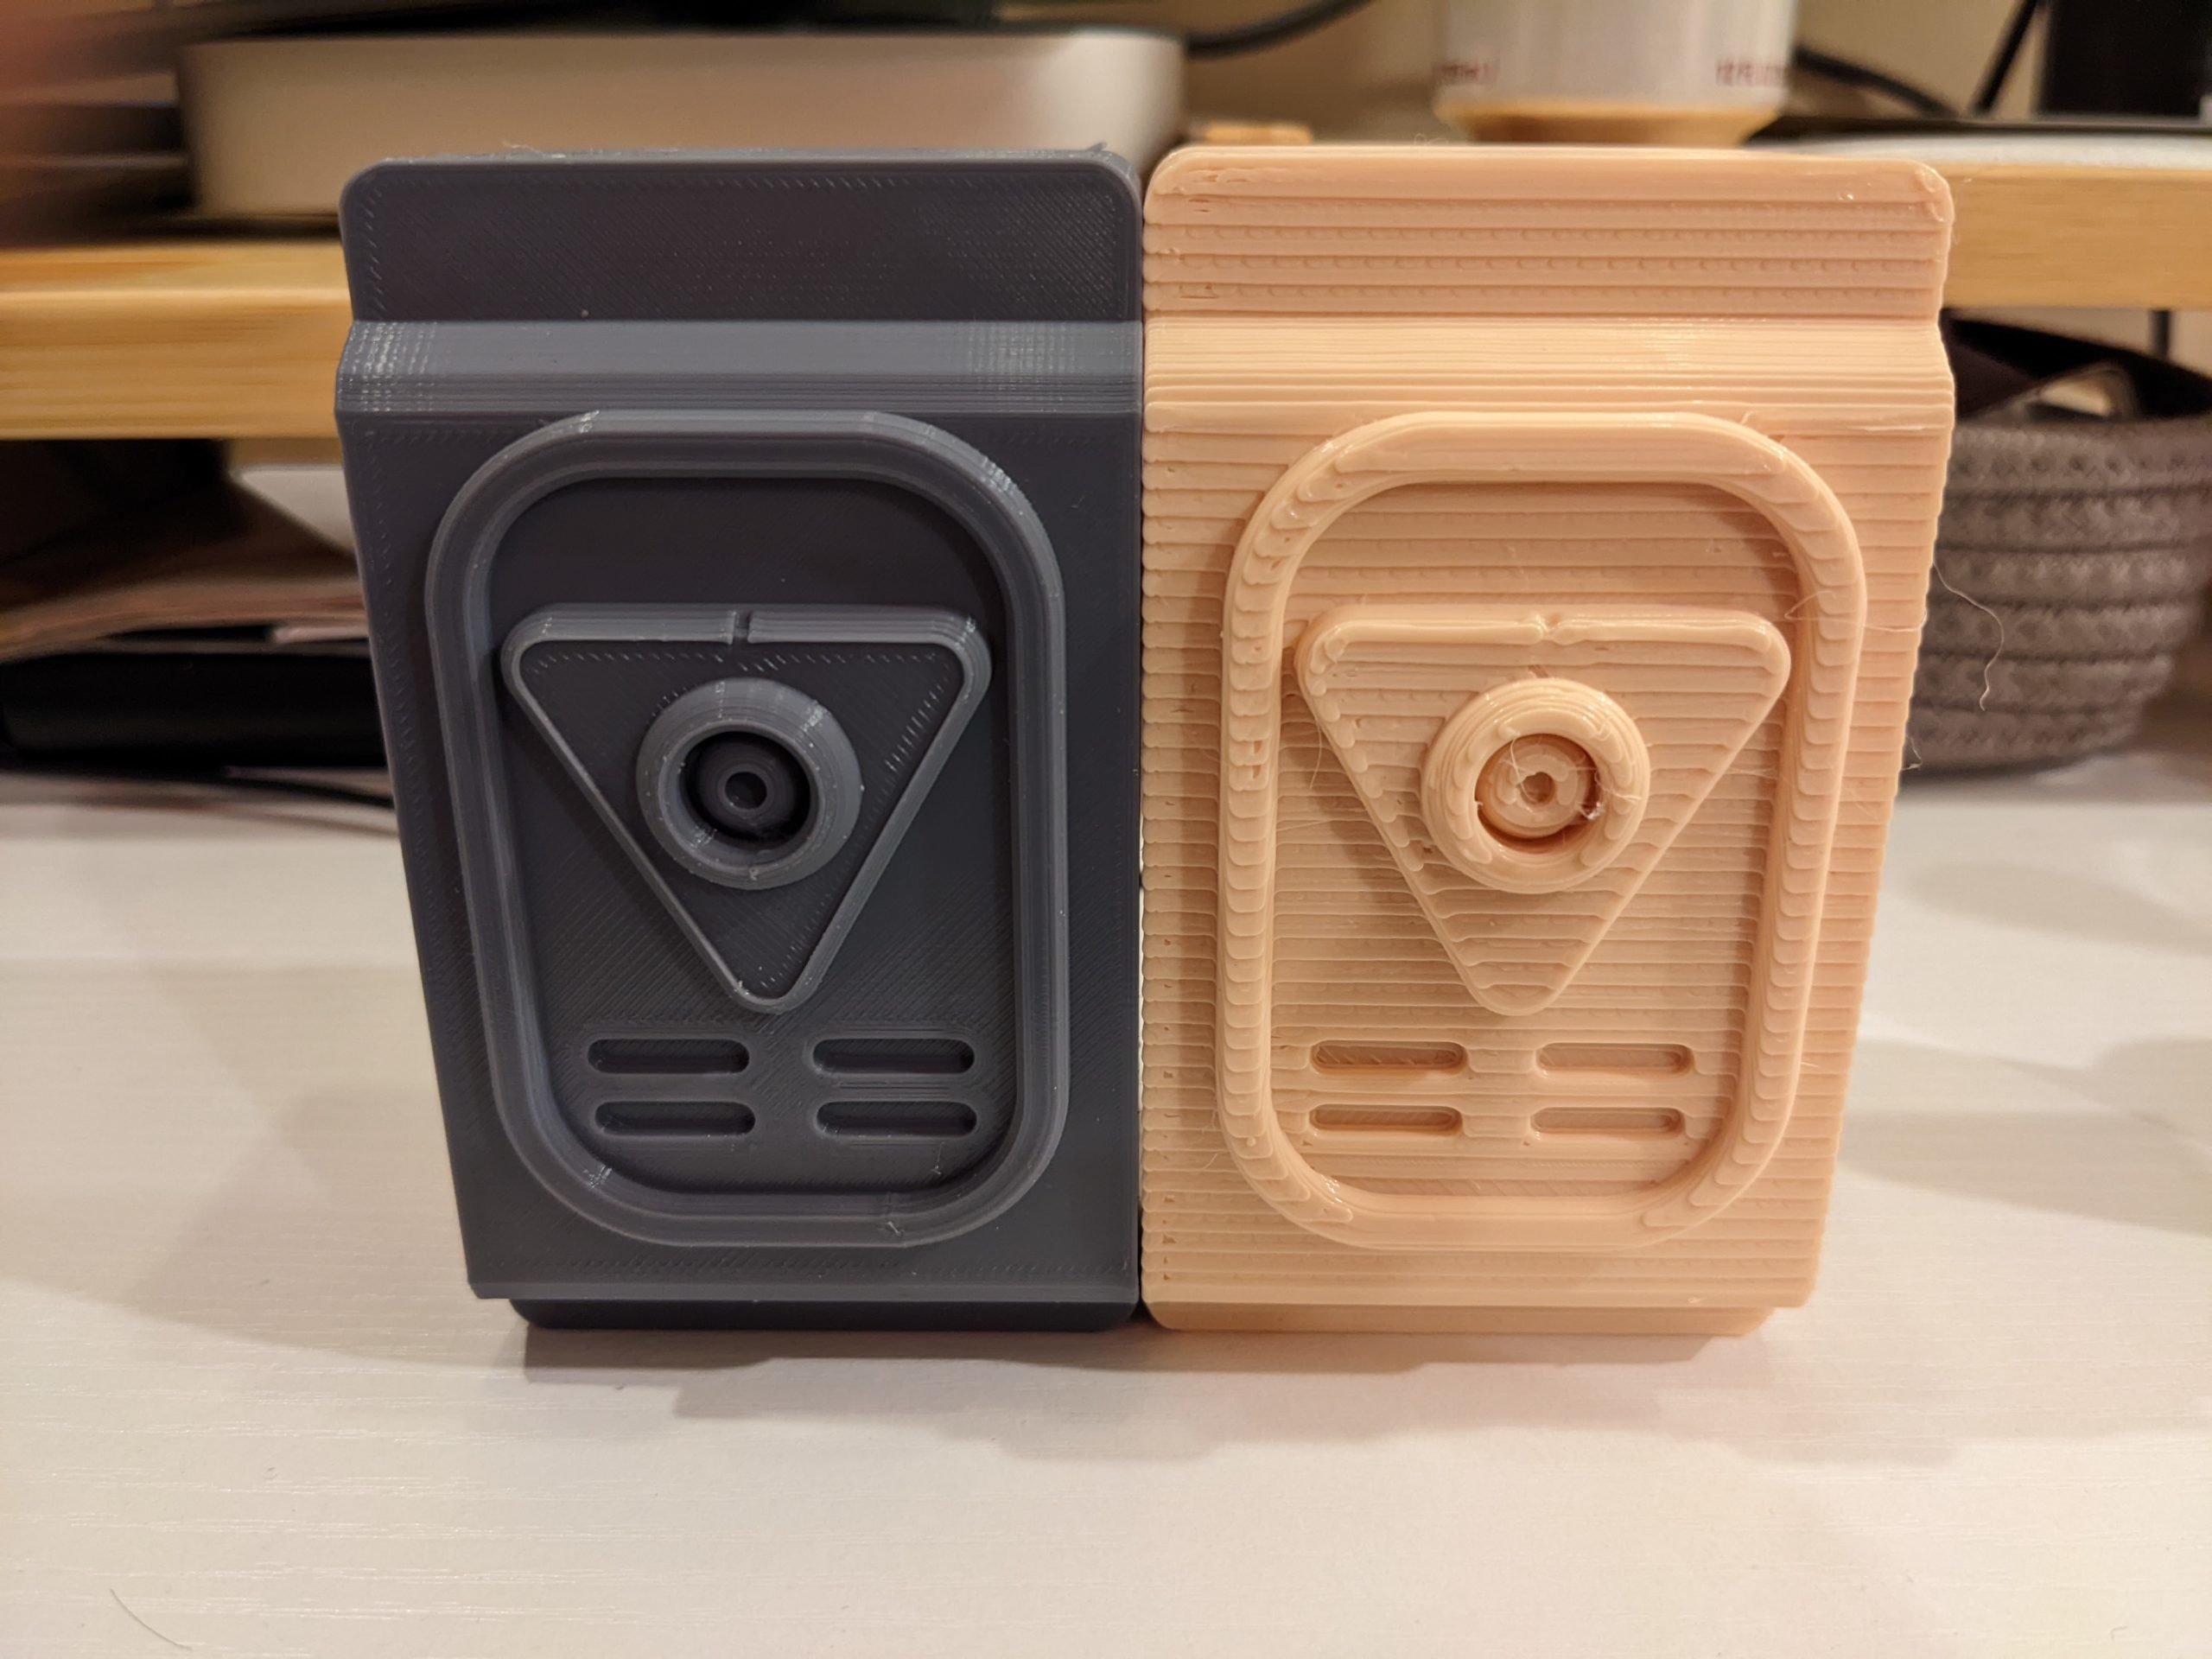
This ended up being most noticeable with the front.stl piece. Many details were missed when printing with the 0.8mm nozzle. To increase the quality of details on the reprint, I used Cura to align the object’s main face to the build plate, then flipped it over, so the main face was printed as the top layers, laid flat.
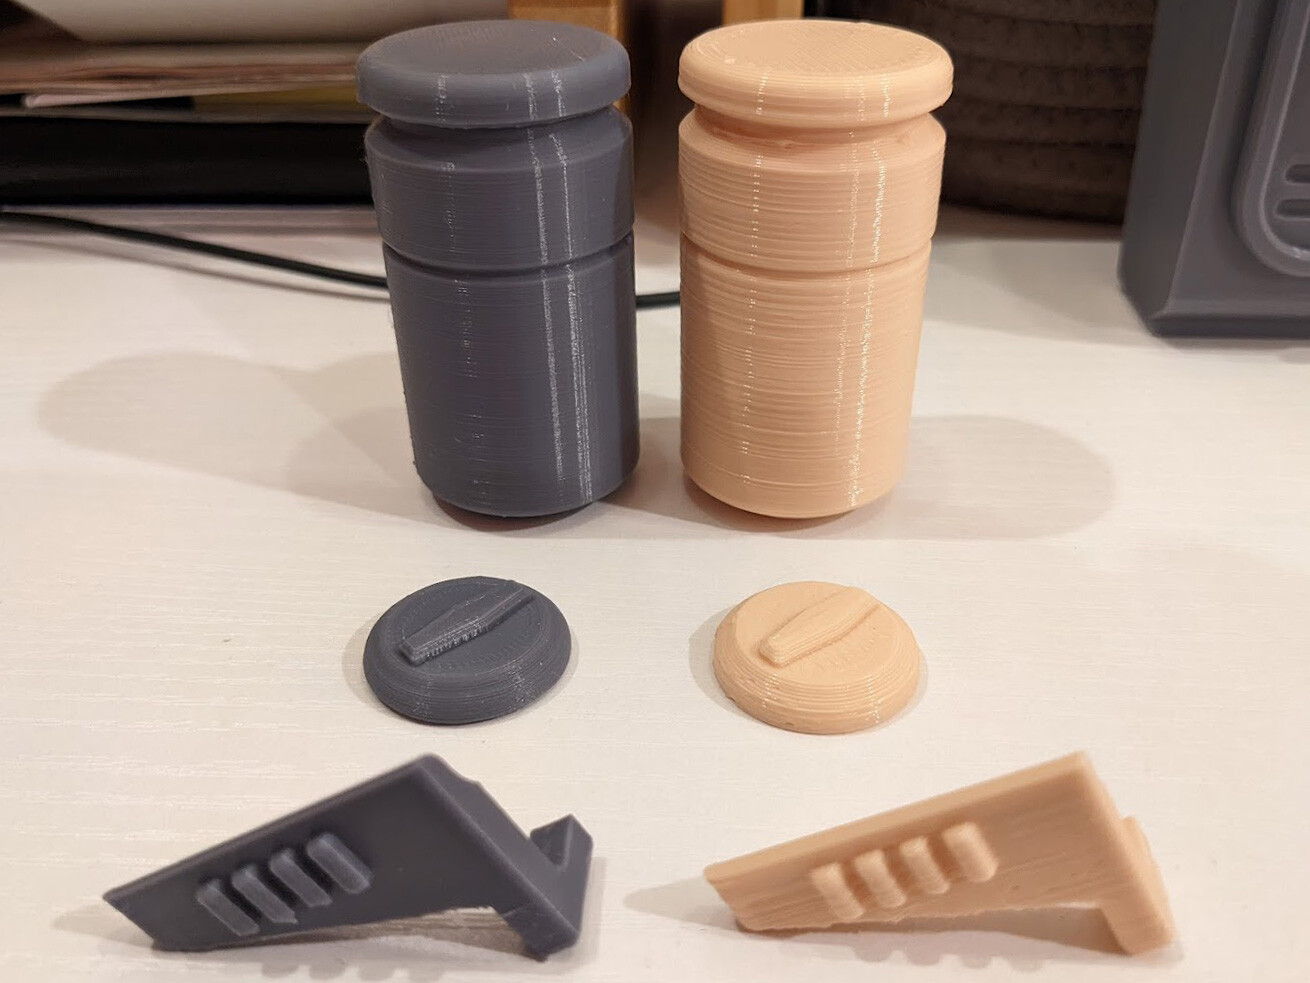
The impact was less apparent with the other reprints, though they should be easier to sand.
Sanding for this one has been a little rough, at least more than initially expected. Some of this is due to printing with the 0.8mm nozel.
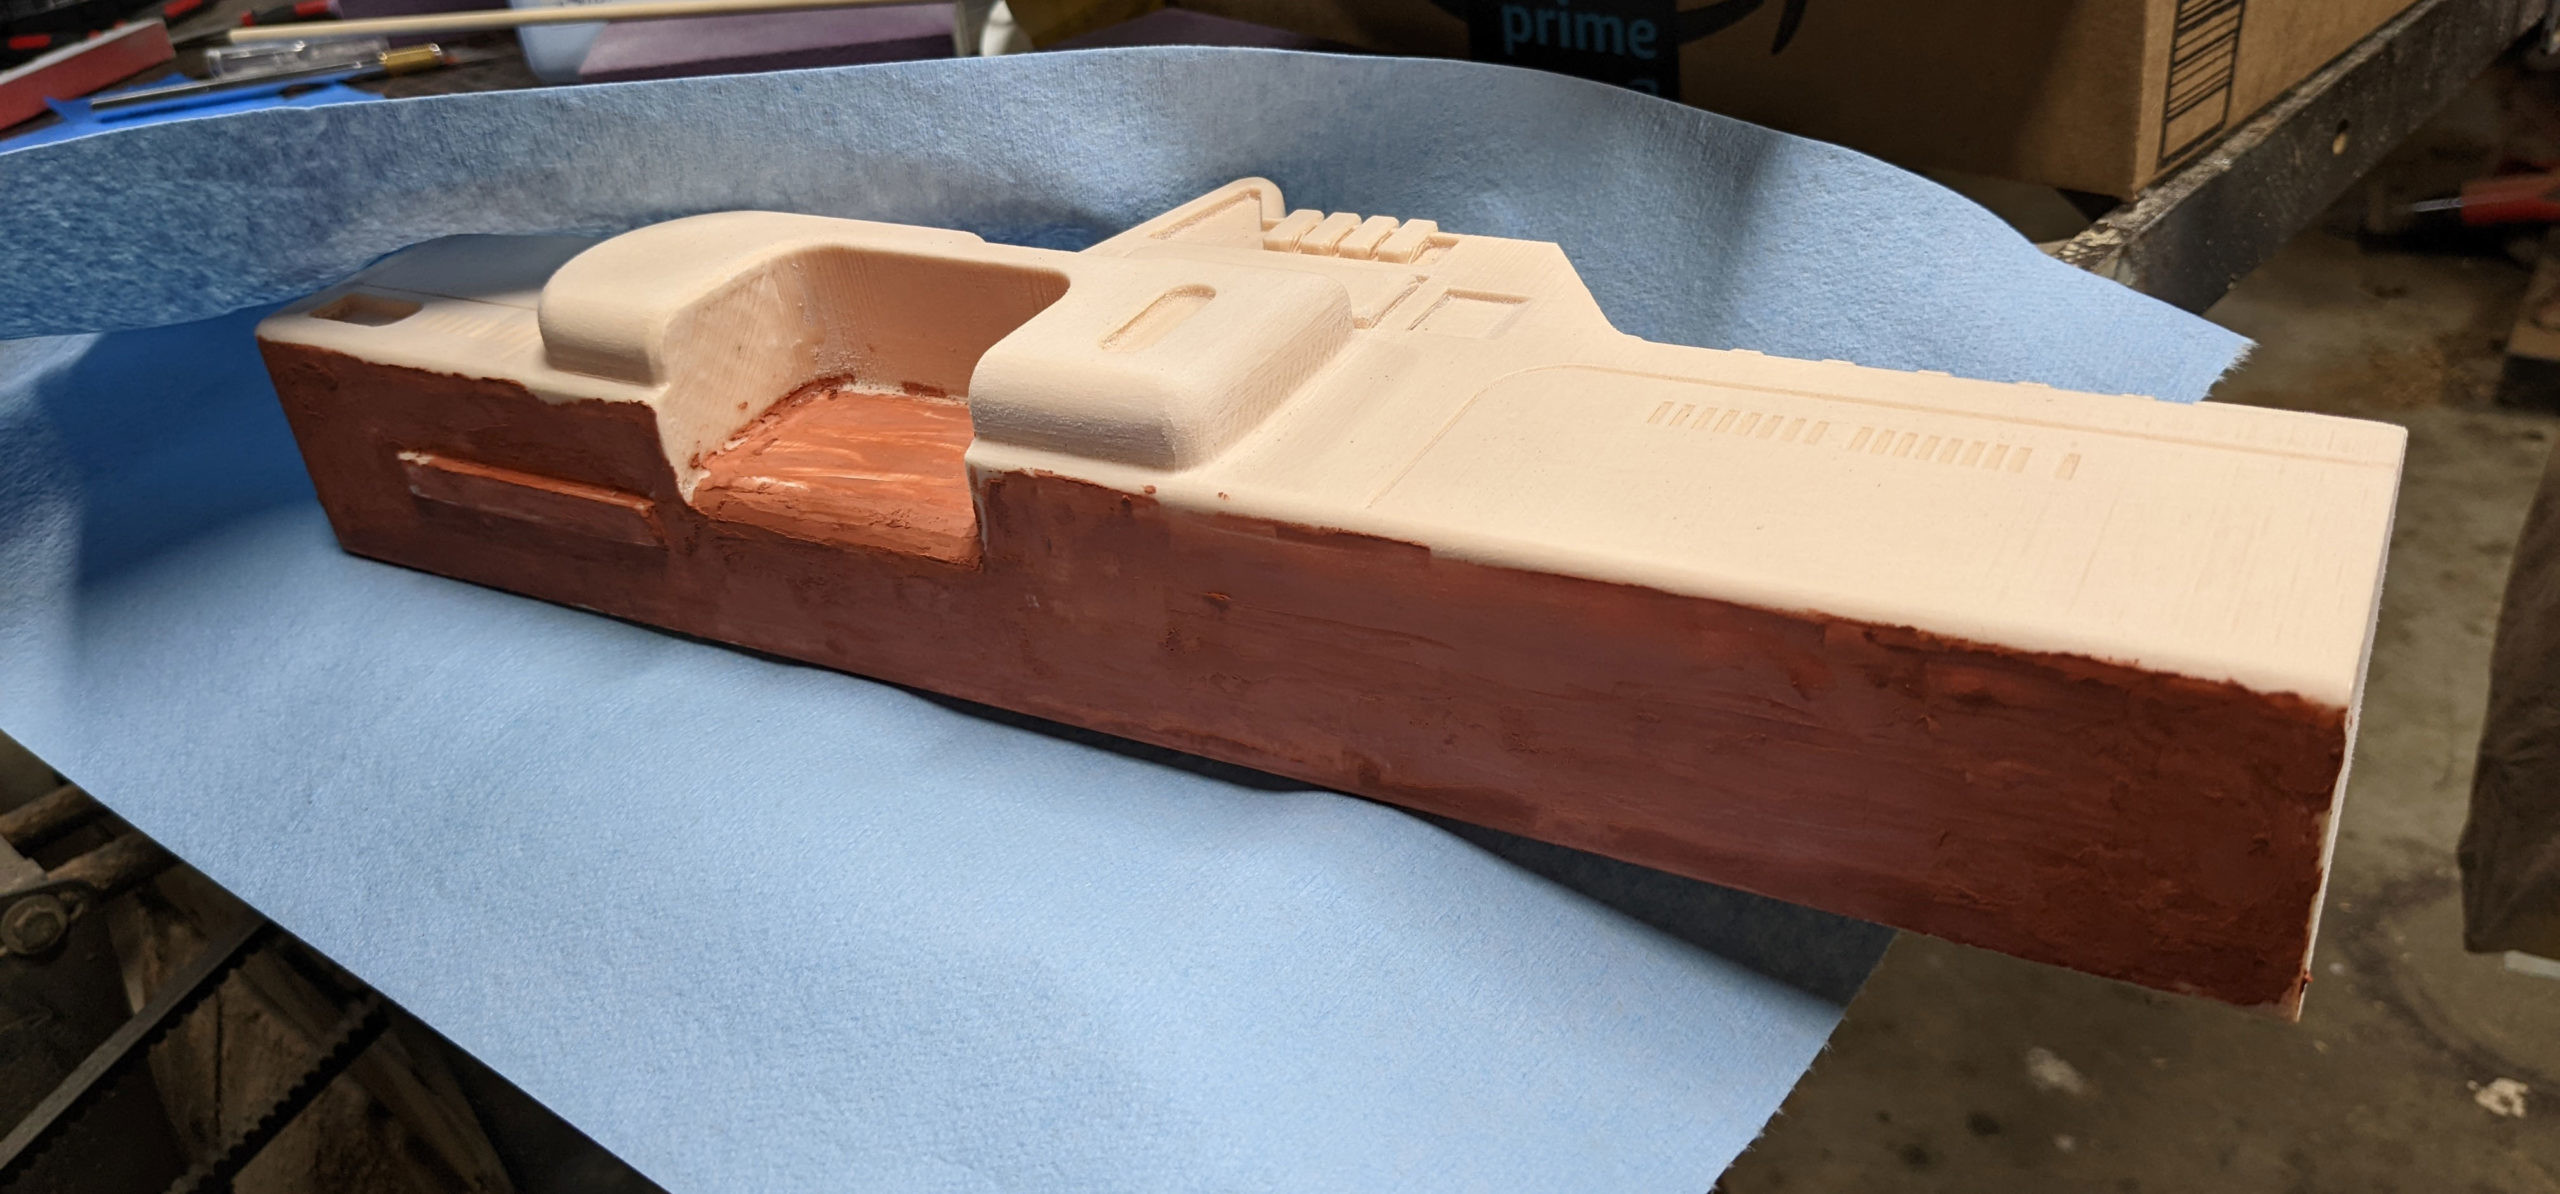
Particularly, the 0.3 layer height on the main body led to some deep print lines. Instead of sanding the print down until no longer visible, I’m getting to a point where most of the lines are gone, then liberally applying spot putty to sand down so that the last remaining lines are filled in with putty. This one’s getting close to paint-ready.